This guide is for you if

Use this guide if you set up Grant Cycles, manage people and requirements, support active projects, or close grants.

Before you begin

Have the approved dates, policies, application questions, document list, scoring guide, qualification rules, and support contacts ready.

How to use it

Complete the tasks in order. Open a task to see the instructions. Select any screenshot to enlarge it.

Important: Stop if the district or foundation name is wrong.

Understand the two timelines

A Grant Cycle can close while its awarded projects continue. Projects and reports remain available until Project closeout.

Grant Cycle

One application opportunity, including its application dates, review, and award decisions.

Project Period

The dates when an awarded project is expected to begin and end. It may continue after the Grant Cycle closes.

Reporting Schedule

The progress and final reports required for an awarded project, with their due dates.

Project closeout

The final checks that formally complete an awarded project after its required reports are accepted.

1

Sign in

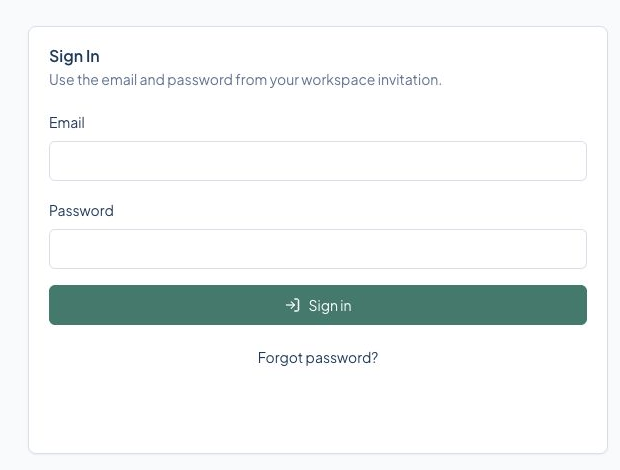
Start on the GrantsPost sign-in page.

Where to beginStart on the GrantsPost sign-in page.
  1. Enter the email address from your invitation.
  2. Enter your password.
  3. Select Sign in. If you cannot remember your password, select Forgot password?
GrantsPost screen for Sign in

Select the screen to enlarge it. Example data is fictional.

You are finished when

You arrive at the home page for your assigned role.

What happens next

GrantsPost opens the home page for your assigned role.

If something is not working

Check that you used the email address from the invitation. Use Forgot password? before asking an administrator to resend access.

2

Use the administration dashboard

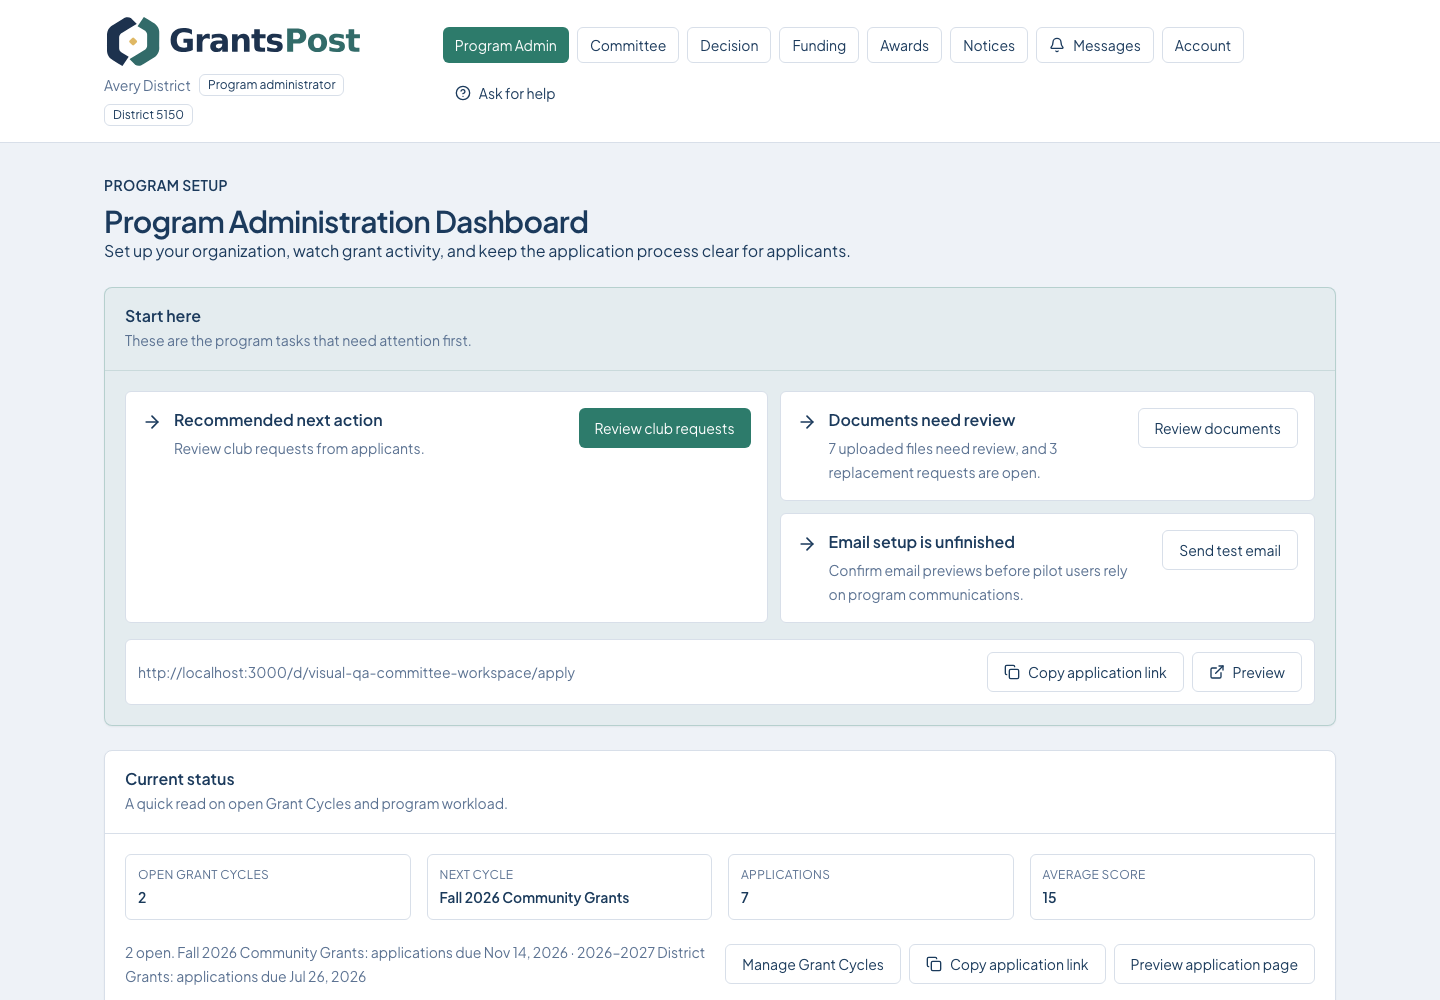
From the top menu, open District Admin.
Where to beginFrom the top menu, open District Admin.
  1. Read the Recommended action card first.
  2. Select the recommended action, such as Create Grant Cycle, Review and open, or Manage Grant Cycle.
  3. Return to this dashboard after each setup task to see what still needs attention.
GrantsPost screen for Use the administration dashboard

Select the screen to enlarge it. Example data is fictional.

You are finished when

The dashboard shows no unexpected setup warning.

What happens next

Return to your role's home page and follow the next action shown by GrantsPost.

If something is not working

Use Help or Ask for help. Include the page name and what you were trying to do. Never send your password.

3

Set the district or foundation profile

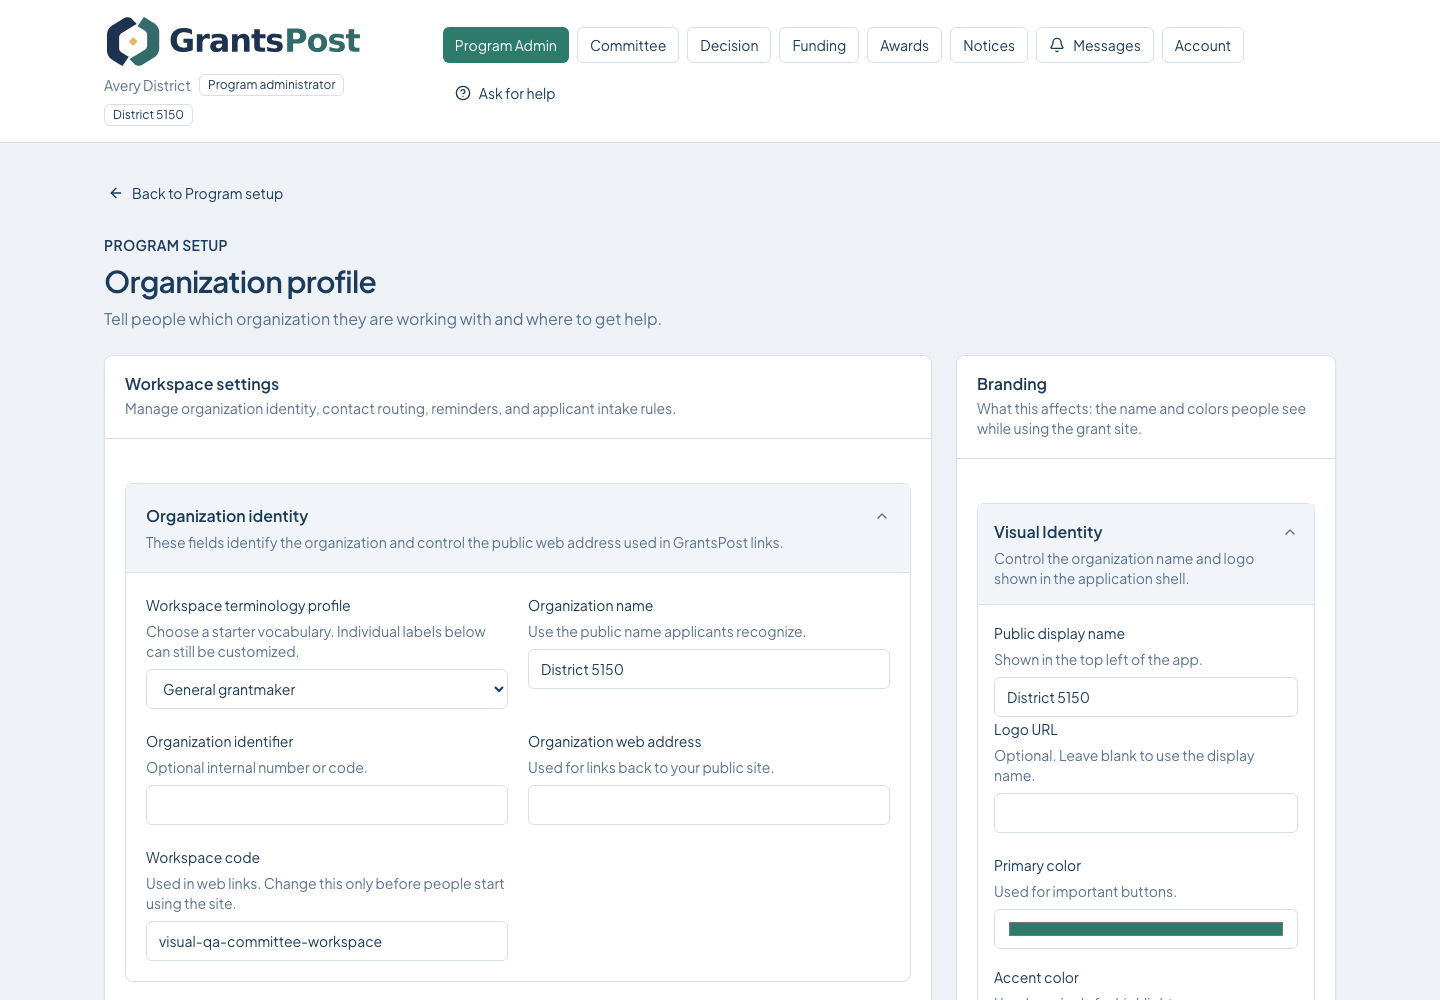
From District Admin, open District profile.
Where to beginFrom District Admin, open District profile.
  1. Open the section you need: district identity, terminology, contact details, or branding.
  2. Enter the public information applicants should see.
  3. Select Save district profile or Save branding, depending on the section.
GrantsPost screen for Set the district or foundation profile

Select the screen to enlarge it. Example data is fictional.

You are finished when

Applicants see the correct organization name and know where to get help.

What happens next

Return to your role's home page and follow the next action shown by GrantsPost.

If something is not working

Use Help or Ask for help. Include the page name and what you were trying to do. Never send your password.

4

Invite people and assign access

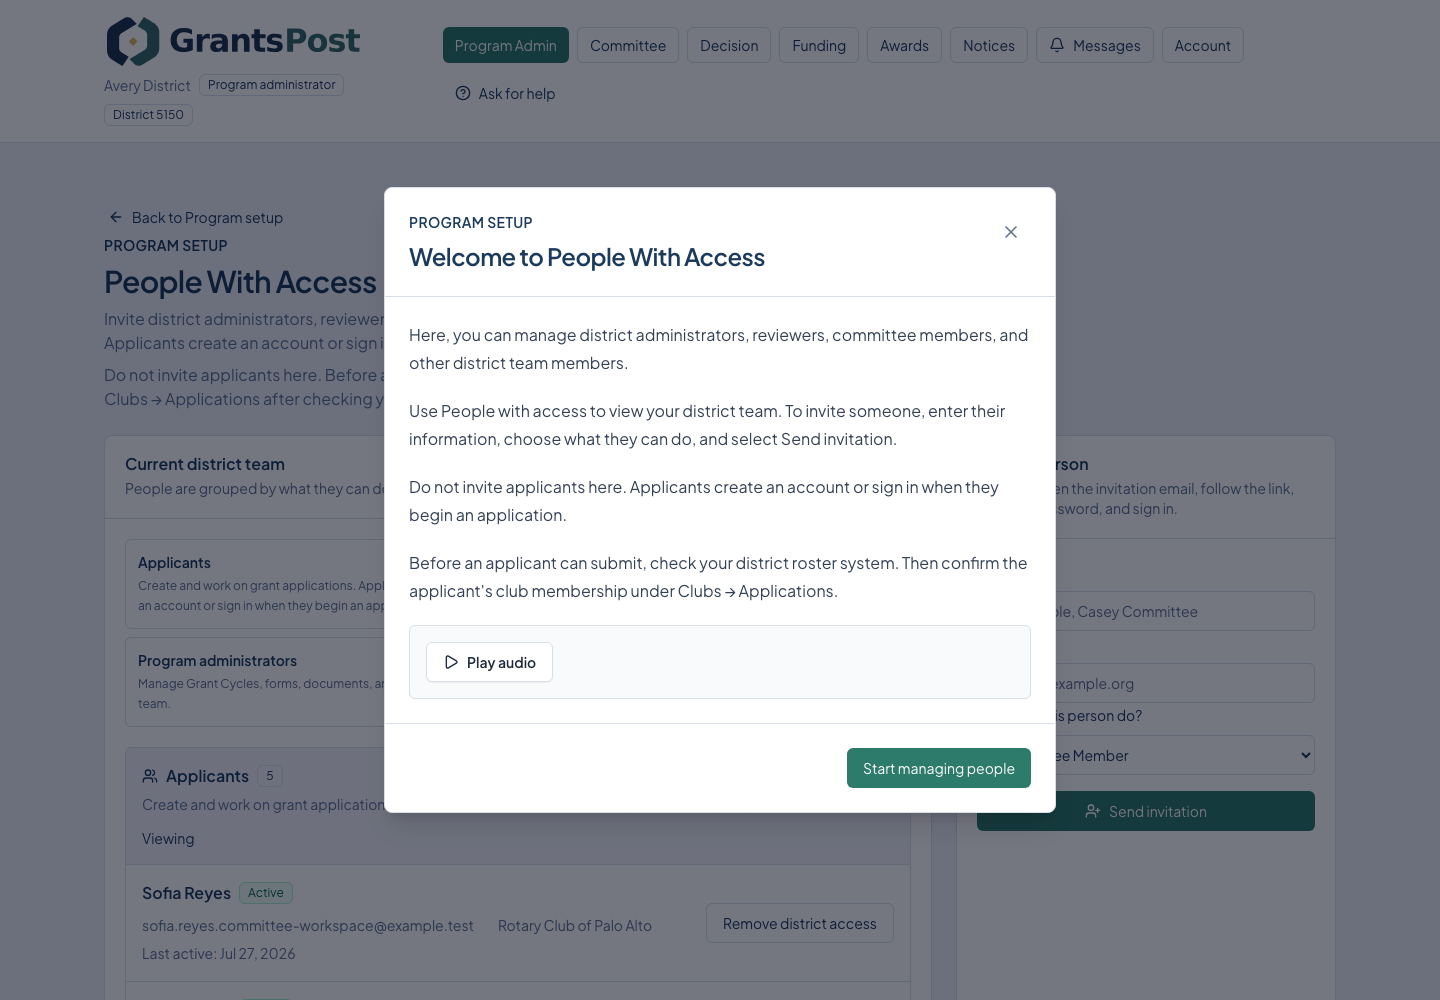
From District Admin, open People With Access.
Where to beginFrom District Admin, open People With Access.
  1. In Invite a Person, enter the person's name and email address.
  2. Choose only the access they need.
  3. Select Send invitation. If the person already appears, resend the invitation instead of adding a duplicate.
GrantsPost screen for Invite people and assign access

Select the screen to enlarge it. Example data is fictional.

You are finished when

Every pilot participant appears with the correct role and status.

What happens next

Return to your role's home page and follow the next action shown by GrantsPost.

If something is not working

If the person already appears, do not create a second record. Open the existing record and resend the invitation.

5

Maintain the club or organization directory

From District Admin, open Club Directory.
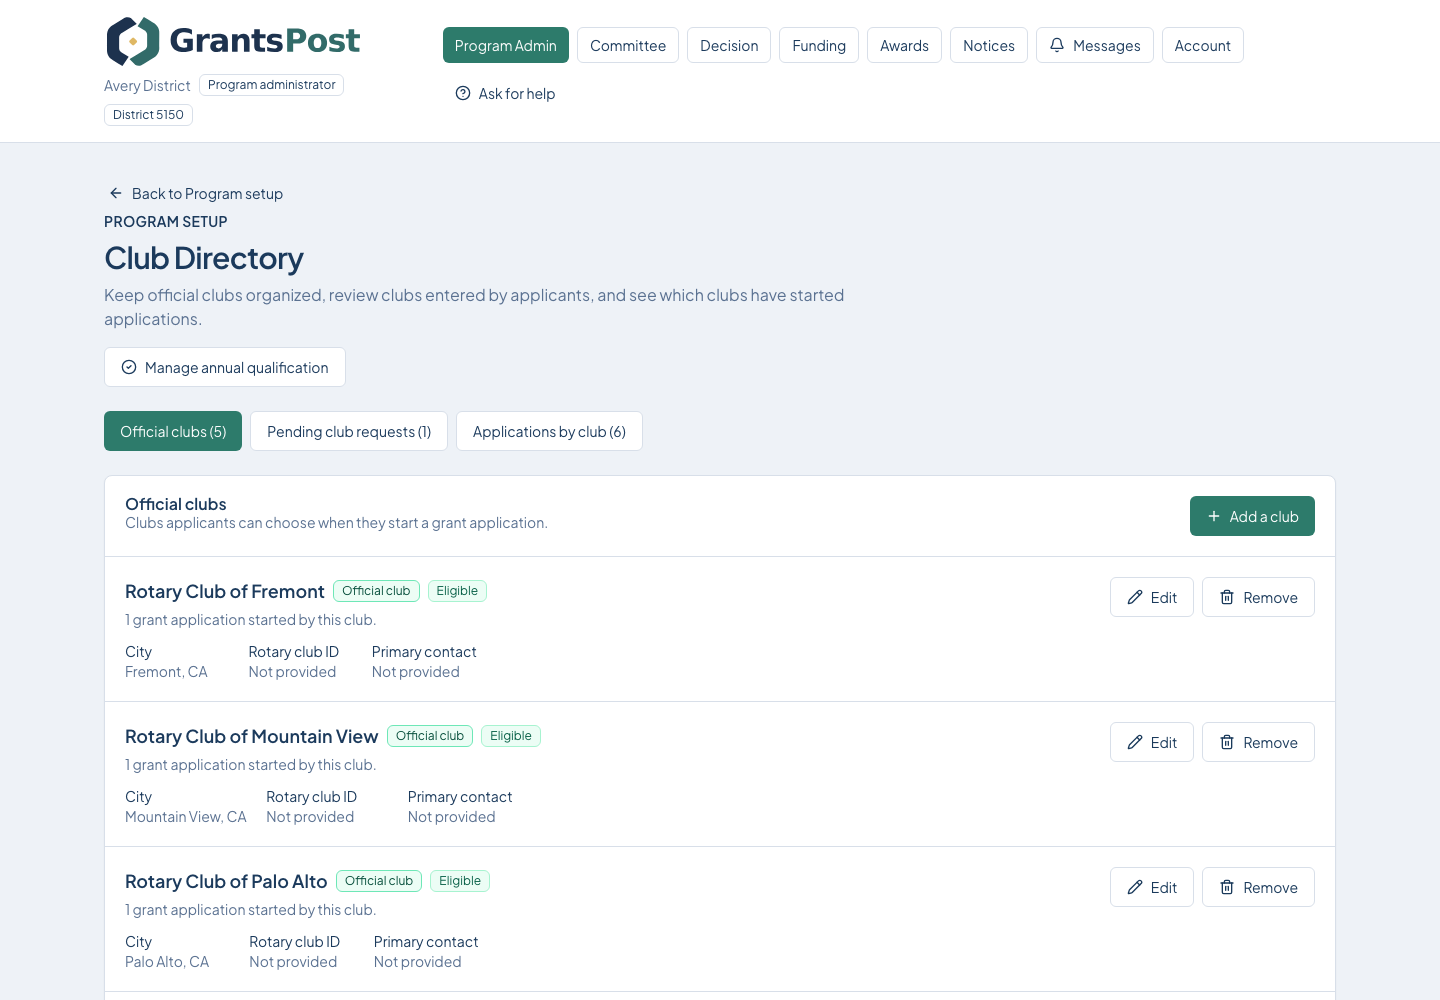
Where to beginFrom District Admin, open Club Directory.
  1. Look for the club before adding a new one.
  2. If it is missing, select Add a club, enter the club details, then select Create club.
  3. For an existing club, select Edit, make the change, then select Save club changes.
GrantsPost screen for Maintain the club or organization directory

Select the screen to enlarge it. Example data is fictional.

You are finished when

Eligible applicants can find or request their organization.

What happens next

Return to your role's home page and follow the next action shown by GrantsPost.

If something is not working

Use Help or Ask for help. Include the page name and what you were trying to do. Never send your password.

6

Create and manage Grant Cycles

From District Admin, open Grant Cycles.
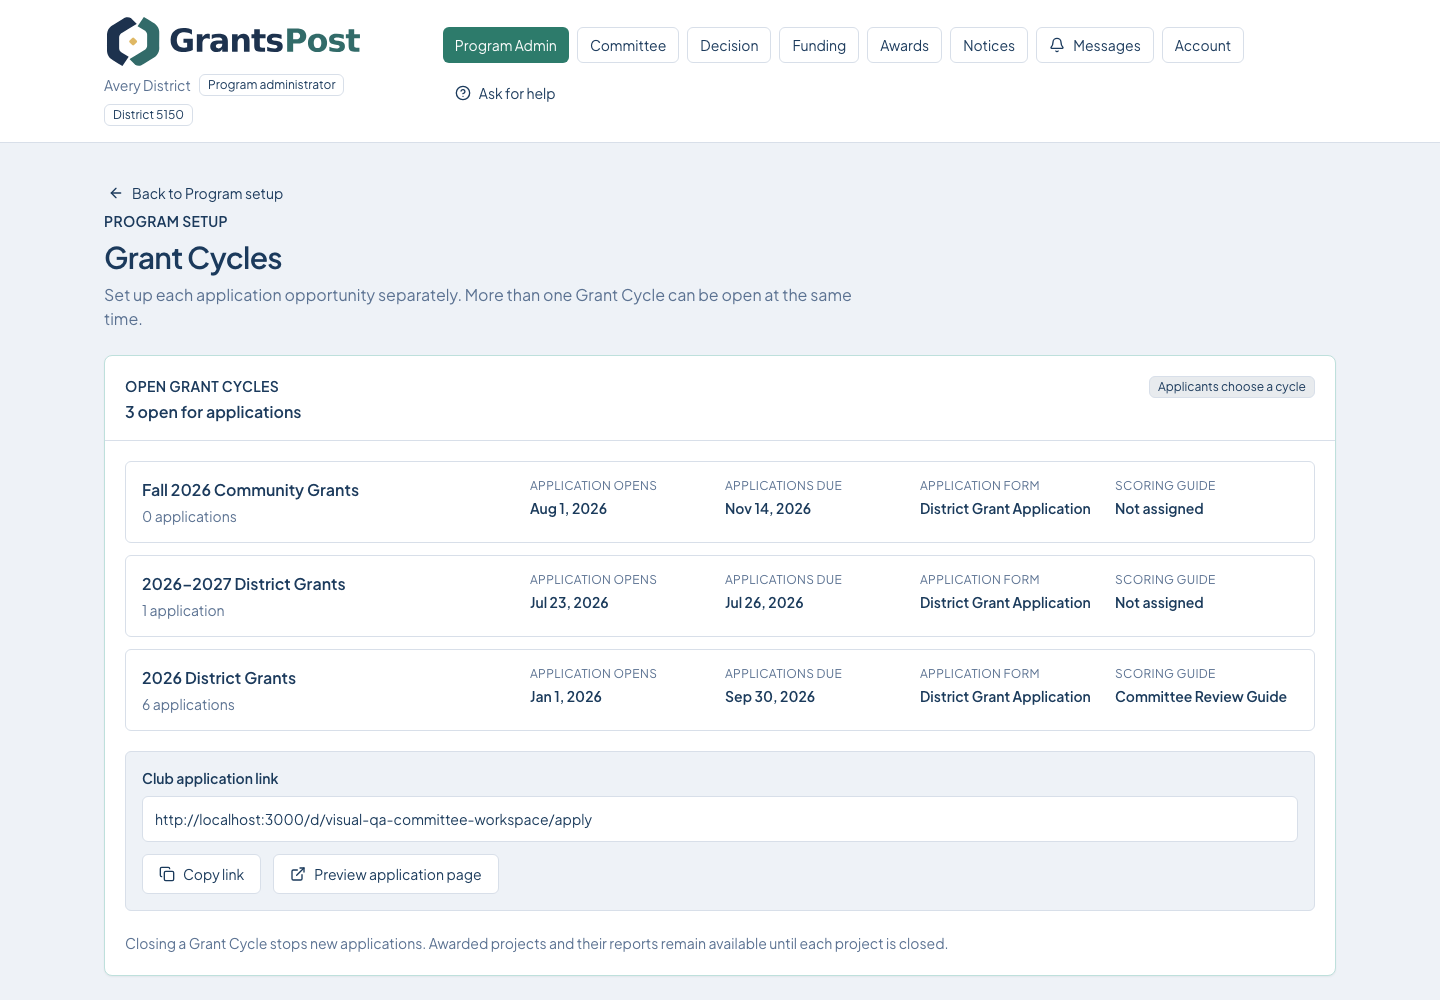
Where to beginFrom District Admin, open Grant Cycles.
  1. Select Create Grant Cycle. Give it a clear name, such as Spring 2027 Community Grants, and enter its application dates, form, documents, and scoring guide.
  2. Select Create Grant Cycle. Keep the new Grant Cycle in Draft while you finish setup.
  3. When every setup item is correct, use Open applications. Other Grant Cycles may stay open at the same time.
GrantsPost screen for Create and manage Grant Cycles

Select the screen to enlarge it. Example data is fictional.

You are finished when

The intended Grant Cycle is open and the public dates are correct.

What happens next

Applicants see all open Grant Cycles and choose the correct one before starting.

If something is not working

If Open applications is unavailable, return to the dashboard and complete the setup item named in the warning.

7

Build the application form

From District Admin, open Application Forms.
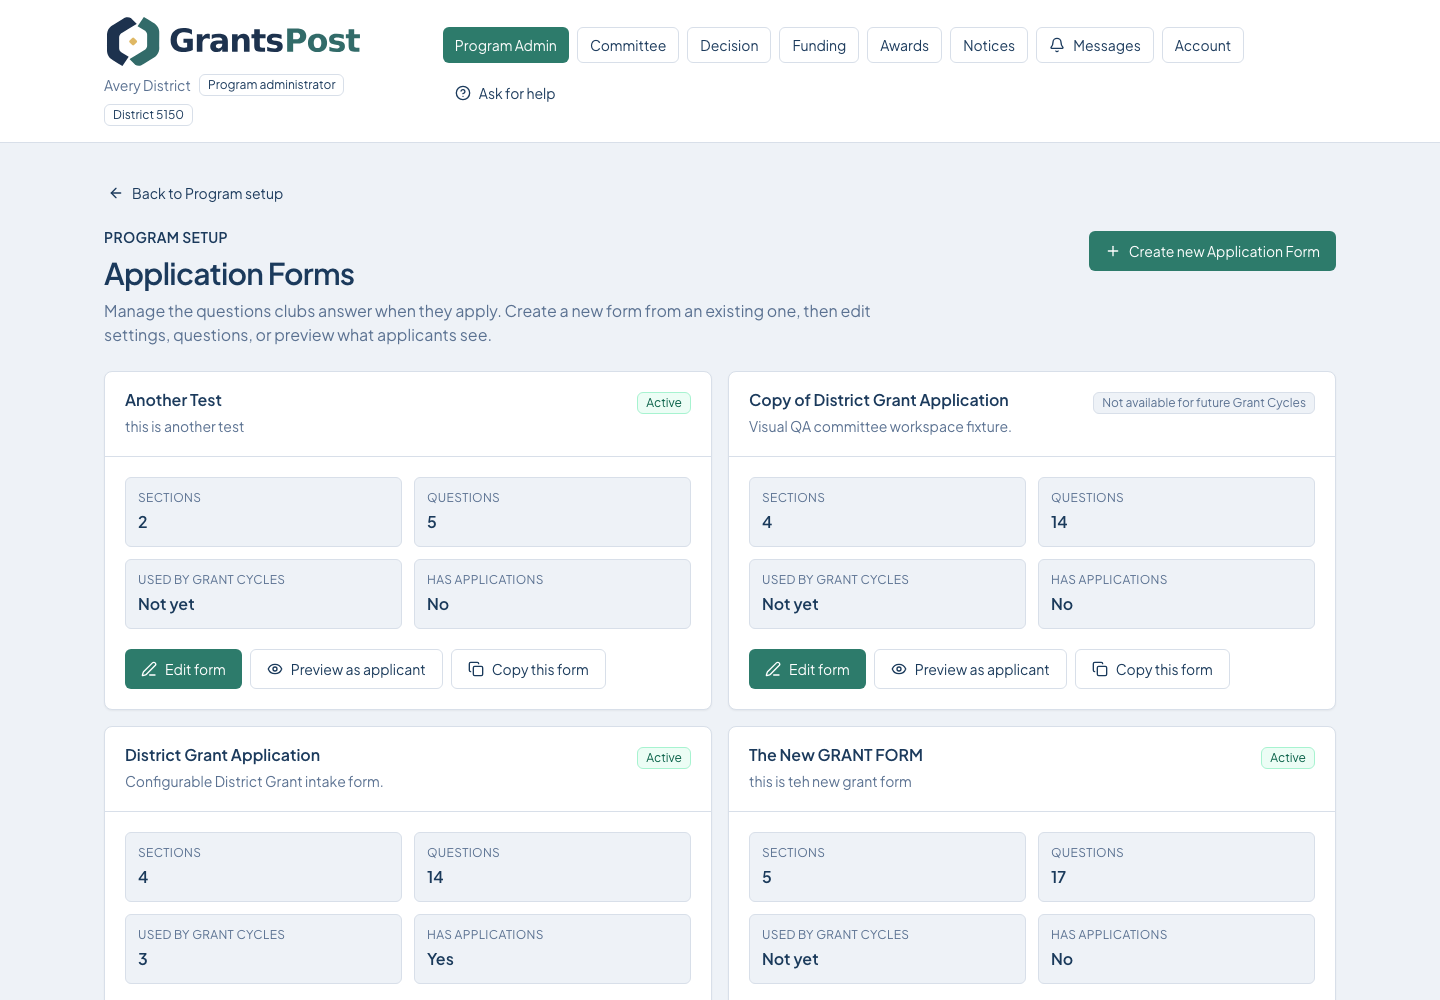
Where to beginFrom District Admin, open Application Forms.
  1. Open the form for the Grant Cycle, or select Create new Application Form.
  2. Use Save section, Add question, and Save question to build the form in the order applicants will use it.
  3. Select Preview as applicant and read the whole form before opening applications.
GrantsPost screen for Build the application form

Select the screen to enlarge it. Example data is fictional.

You are finished when

A preview reads naturally from the first question through submission.

What happens next

Return to your role's home page and follow the next action shown by GrantsPost.

If something is not working

Use Help or Ask for help. Include the page name and what you were trying to do. Never send your password.

8

Define required documents

From District Admin, open Required Documents.
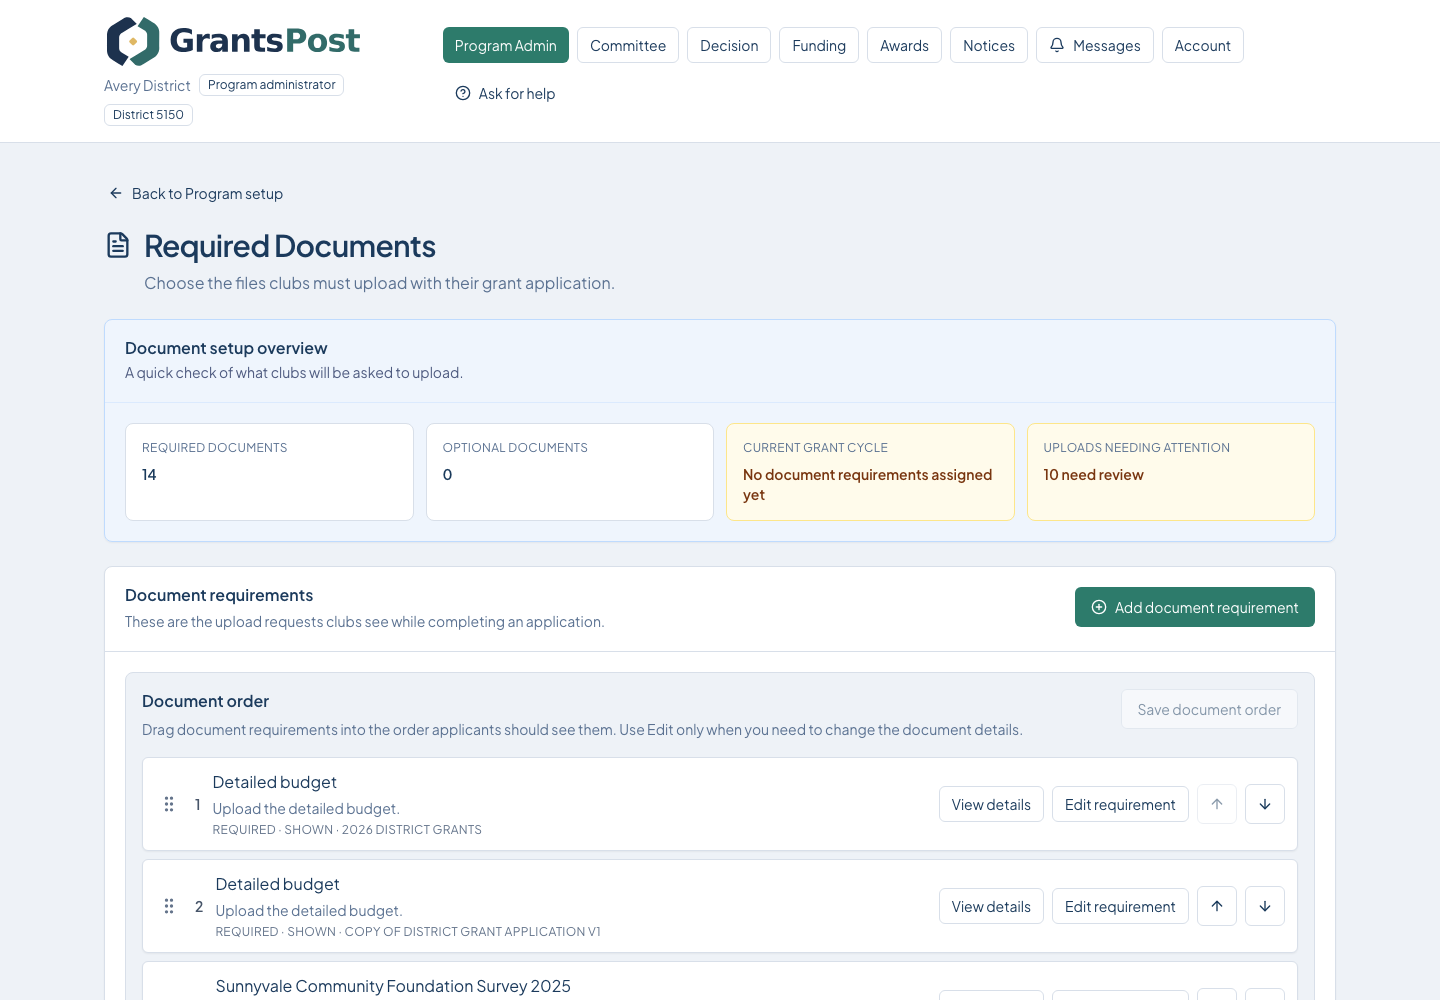
Where to beginFrom District Admin, open Required Documents.
  1. Select Add document requirement.
  2. Enter a clear applicant-facing name, accepted file types, and the condition that makes the document required.
  3. Select Add document requirement, then confirm it appears in the correct Grant Cycle.
GrantsPost screen for Define required documents

Select the screen to enlarge it. Example data is fictional.

You are finished when

The application preview requests the right documents for a sample project.

What happens next

Return to your role's home page and follow the next action shown by GrantsPost.

If something is not working

Use Help or Ask for help. Include the page name and what you were trying to do. Never send your password.

9

Configure scoring guides

From District Admin, open Scoring Guides.
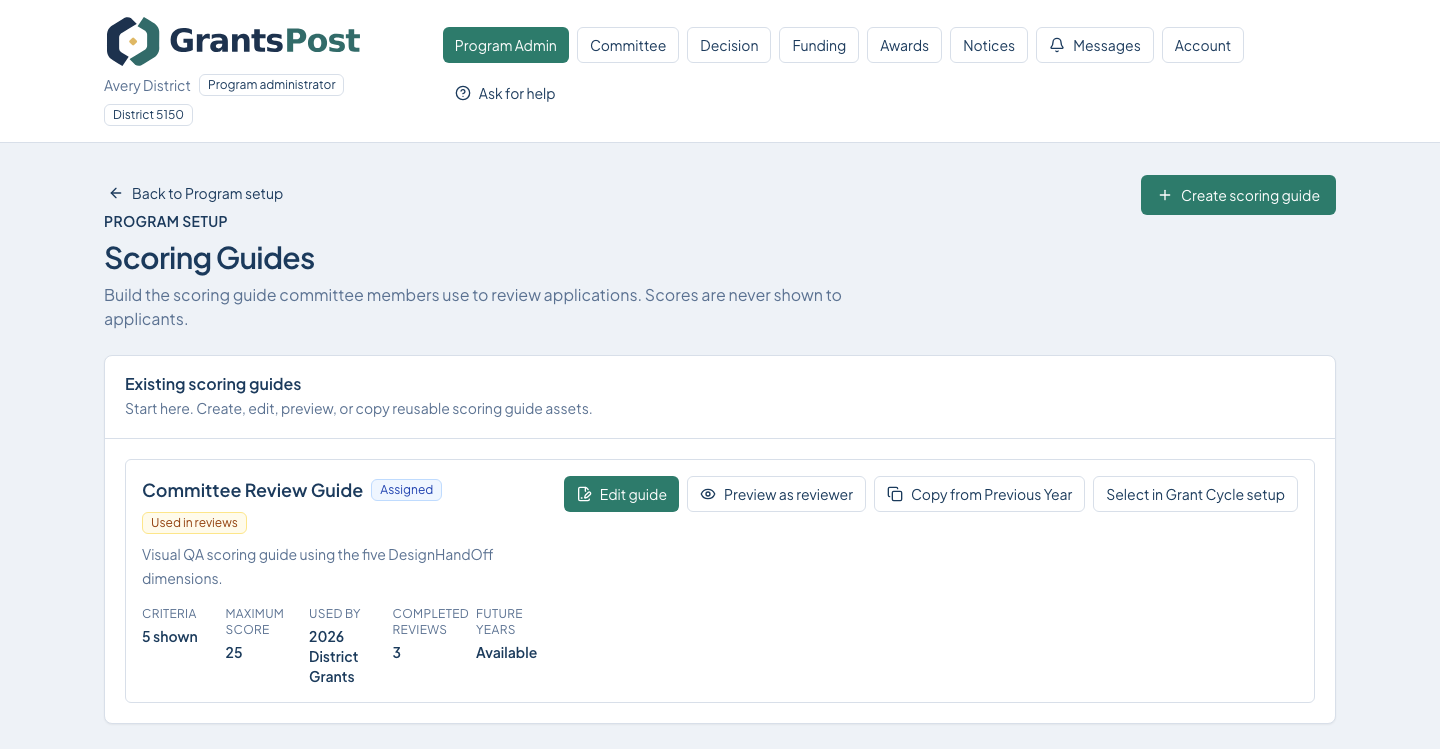
Where to beginFrom District Admin, open Scoring Guides.
  1. Select Create scoring guide or Edit guide.
  2. For each criterion, enter the name, score range, weight, and reviewer instructions; then select Save criterion.
  3. Select Save guide, preview it, and assign the published guide to the correct Grant Cycle.
GrantsPost screen for Configure scoring guides

Select the screen to enlarge it. Example data is fictional.

You are finished when

A reviewer can score every criterion without guessing what it means.

What happens next

Return to your role's home page and follow the next action shown by GrantsPost.

If something is not working

Use Help or Ask for help. Include the page name and what you were trying to do. Never send your password.

10

Configure annual qualification

From District Admin, open Annual qualification.
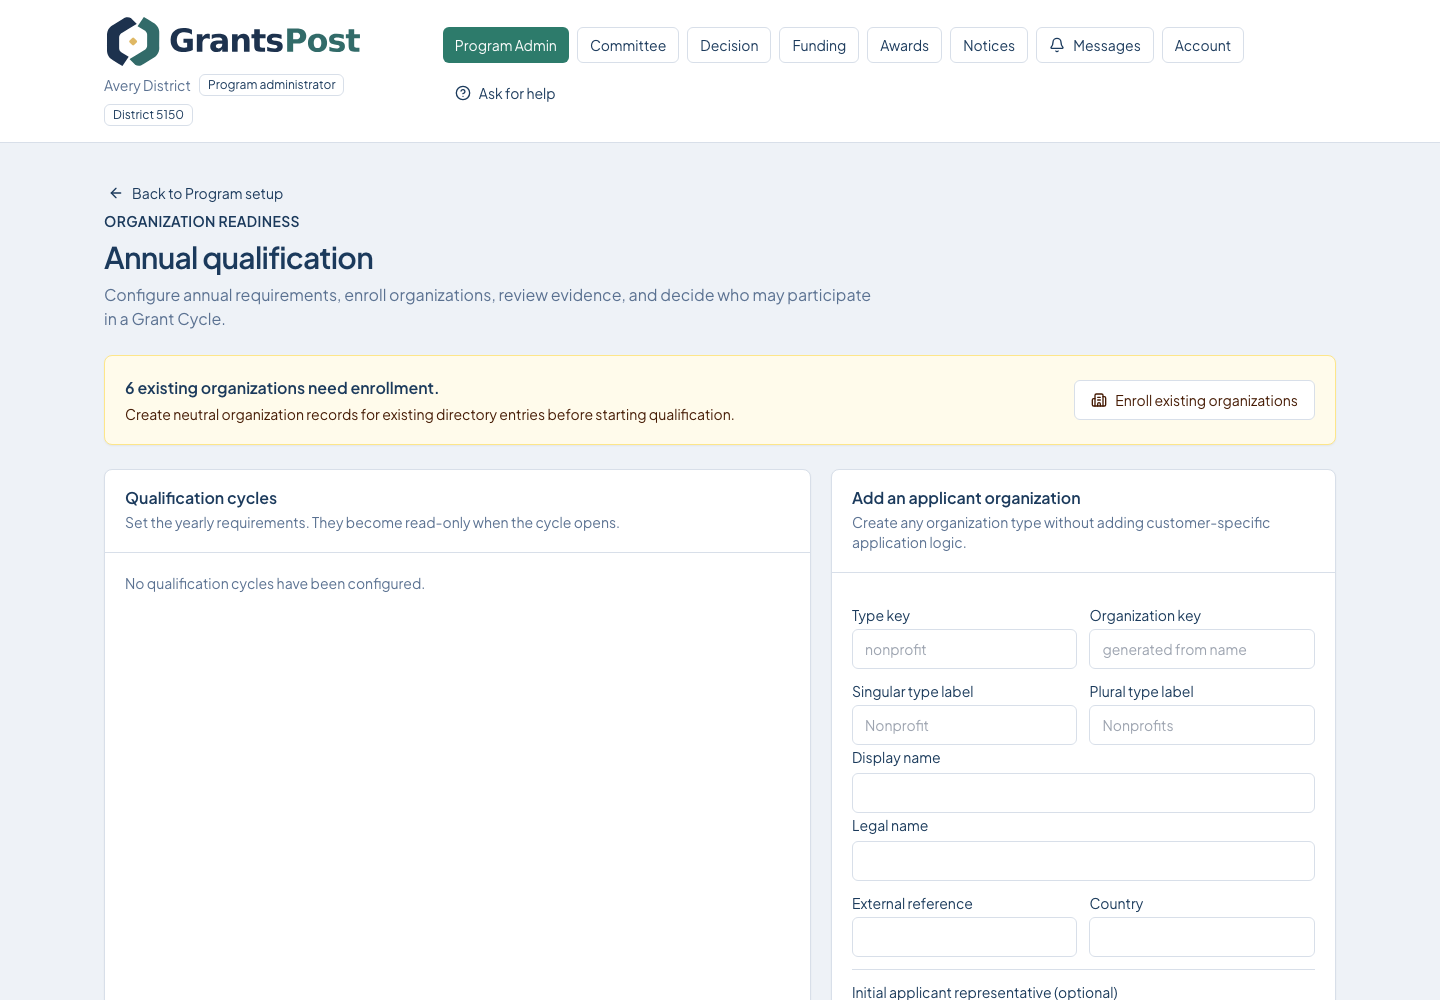
Where to beginFrom District Admin, open Annual qualification.
  1. Open or create the qualification cycle for the Grant Cycle.
  2. Set the training, agreement, evidence, good-standing, and officer requirements.
  3. Select Open cycle. If needed, select Enroll all active organizations.
GrantsPost screen for Configure annual qualification

Select the screen to enlarge it. Example data is fictional.

You are finished when

Qualified organizations can start applications and exceptions are visible for review.

What happens next

Return to your role's home page and follow the next action shown by GrantsPost.

If something is not working

Use Help or Ask for help. Include the page name and what you were trying to do. Never send your password.

11

Publish confirmations and signatures

From District Admin, open Statements and signatures.
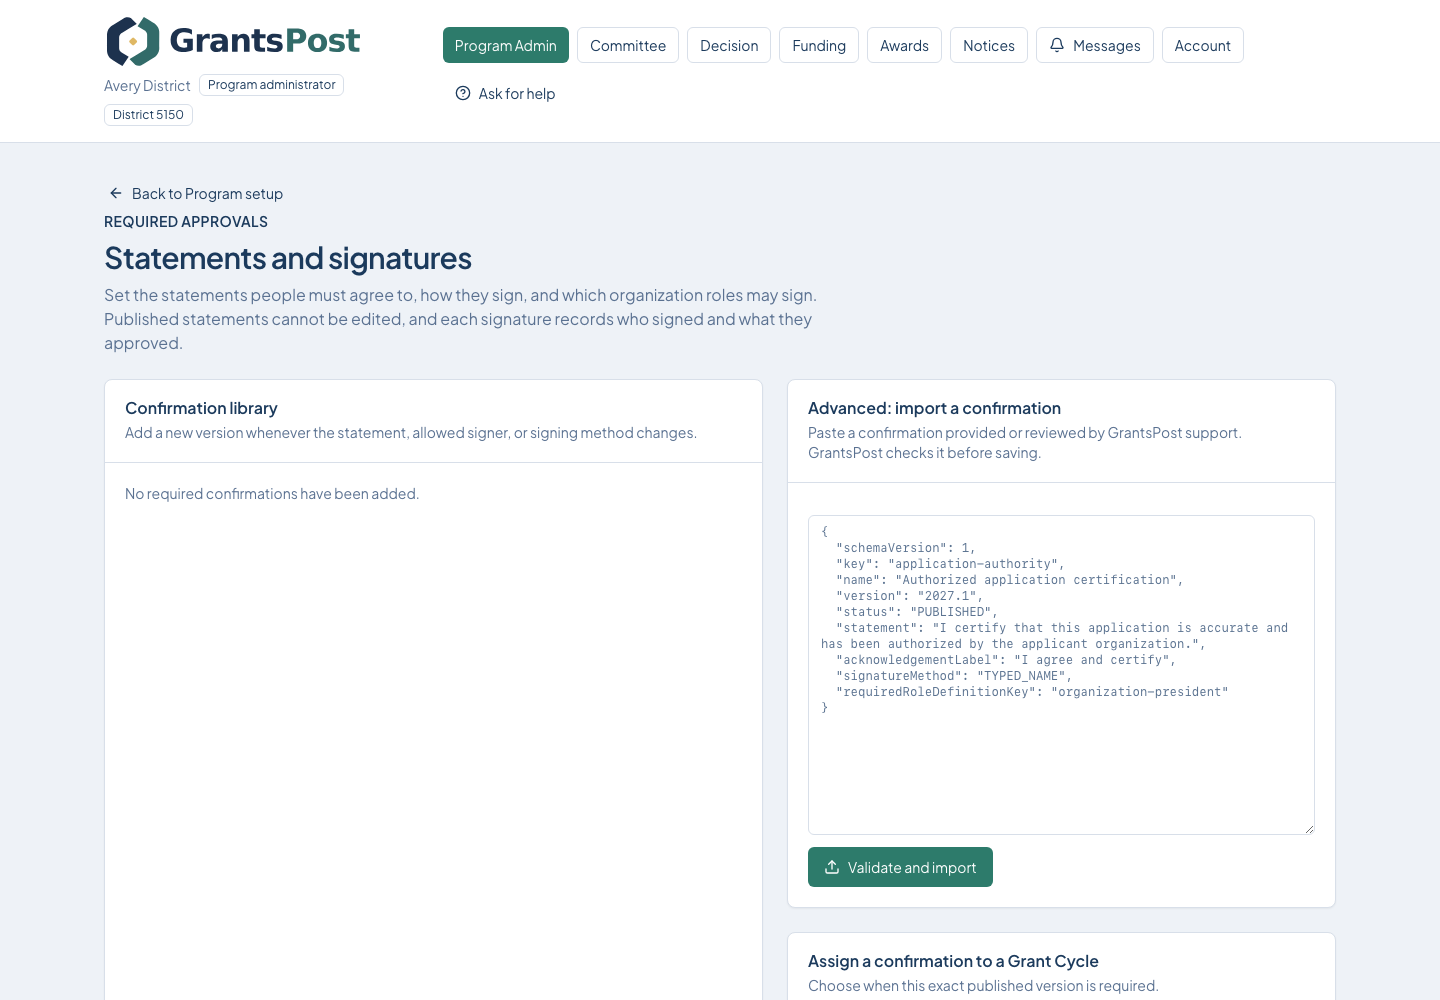
Where to beginFrom District Admin, open Statements and signatures.
  1. Choose the statement and the person who is allowed to sign it.
  2. Review the exact wording before publishing. Published wording is kept with past signatures.
  3. Publish the new version, then confirm it is assigned to the correct Grant Cycle.
GrantsPost screen for Publish confirmations and signatures

Select the screen to enlarge it. Example data is fictional.

You are finished when

Every required statement is tied to the correct role and Grant Cycle.

What happens next

Return to your role's home page and follow the next action shown by GrantsPost.

If something is not working

Use Help or Ask for help. Include the page name and what you were trying to do. Never send your password.

12

Apply policy rules

From District Admin, open Policy rules.
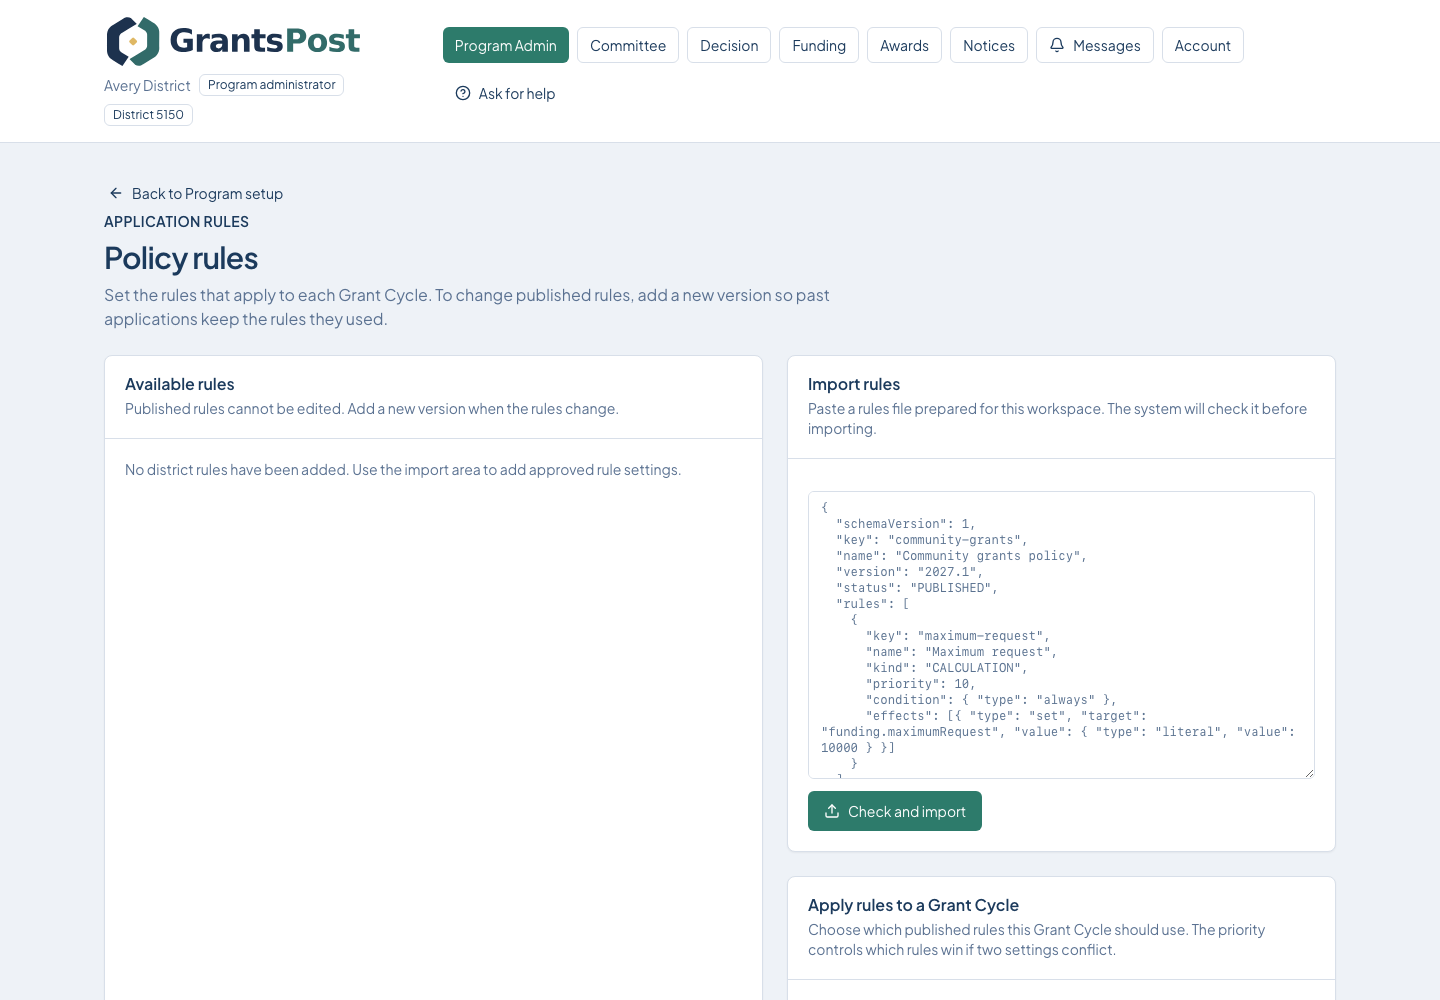
Where to beginFrom District Admin, open Policy rules.
  1. Open the rule set for the Grant Cycle.
  2. Check eligibility, request limits, matching rules, and any priority order.
  3. Save and publish the rule version, then test it with a sample application.
GrantsPost screen for Apply policy rules

Select the screen to enlarge it. Example data is fictional.

You are finished when

A sample application produces the expected limits and requirements.

What happens next

Return to your role's home page and follow the next action shown by GrantsPost.

If something is not working

Use Help or Ask for help. Include the page name and what you were trying to do. Never send your password.

13

Prepare reporting and closeout

From District Admin, open Grant Reports.
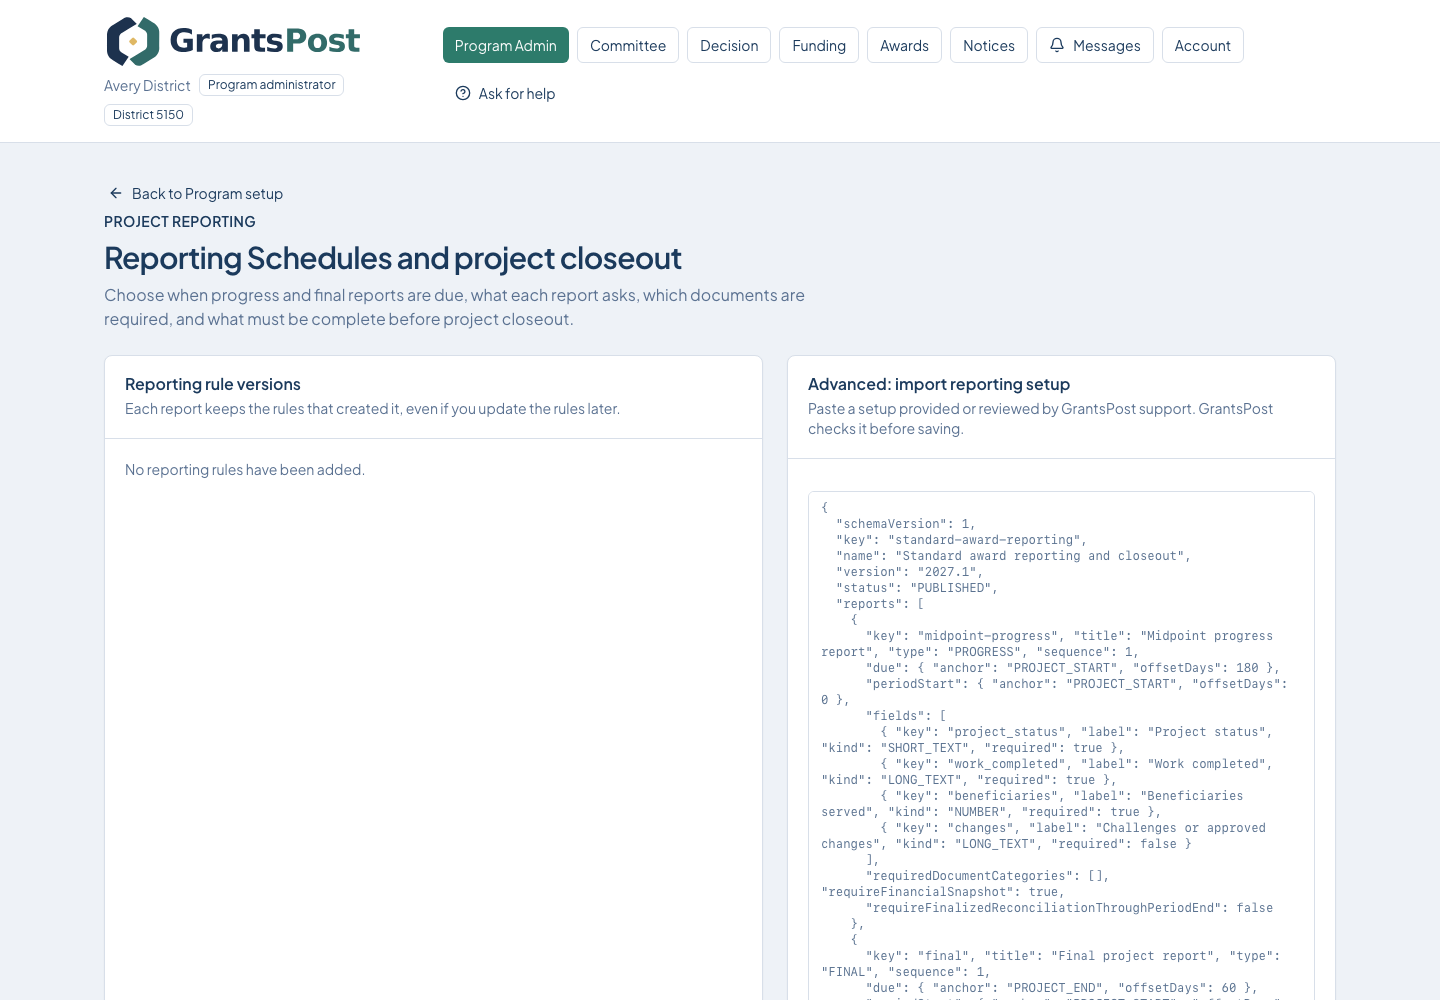
Where to beginFrom District Admin, open Grant Reports.
  1. Confirm each project's Project Period and Reporting Schedule before awards are issued.
  2. Check required questions, documents, and certifications.
  3. Use the Scheduled, Waiting for review, Due soon, Overdue, Returned for revisions, and Closed views to monitor later work. Reporting stays available after the Grant Cycle closes.
GrantsPost screen for Prepare reporting and closeout

Select the screen to enlarge it. Example data is fictional.

You are finished when

Awarded projects will receive the intended report schedule and closeout checks.

What happens next

Return to your role's home page and follow the next action shown by GrantsPost.

If something is not working

Use Help or Ask for help. Include the page name and what you were trying to do. Never send your password.

14

Manage award acceptance and grant payments

From District Admin, open Award acceptance and grant payments.
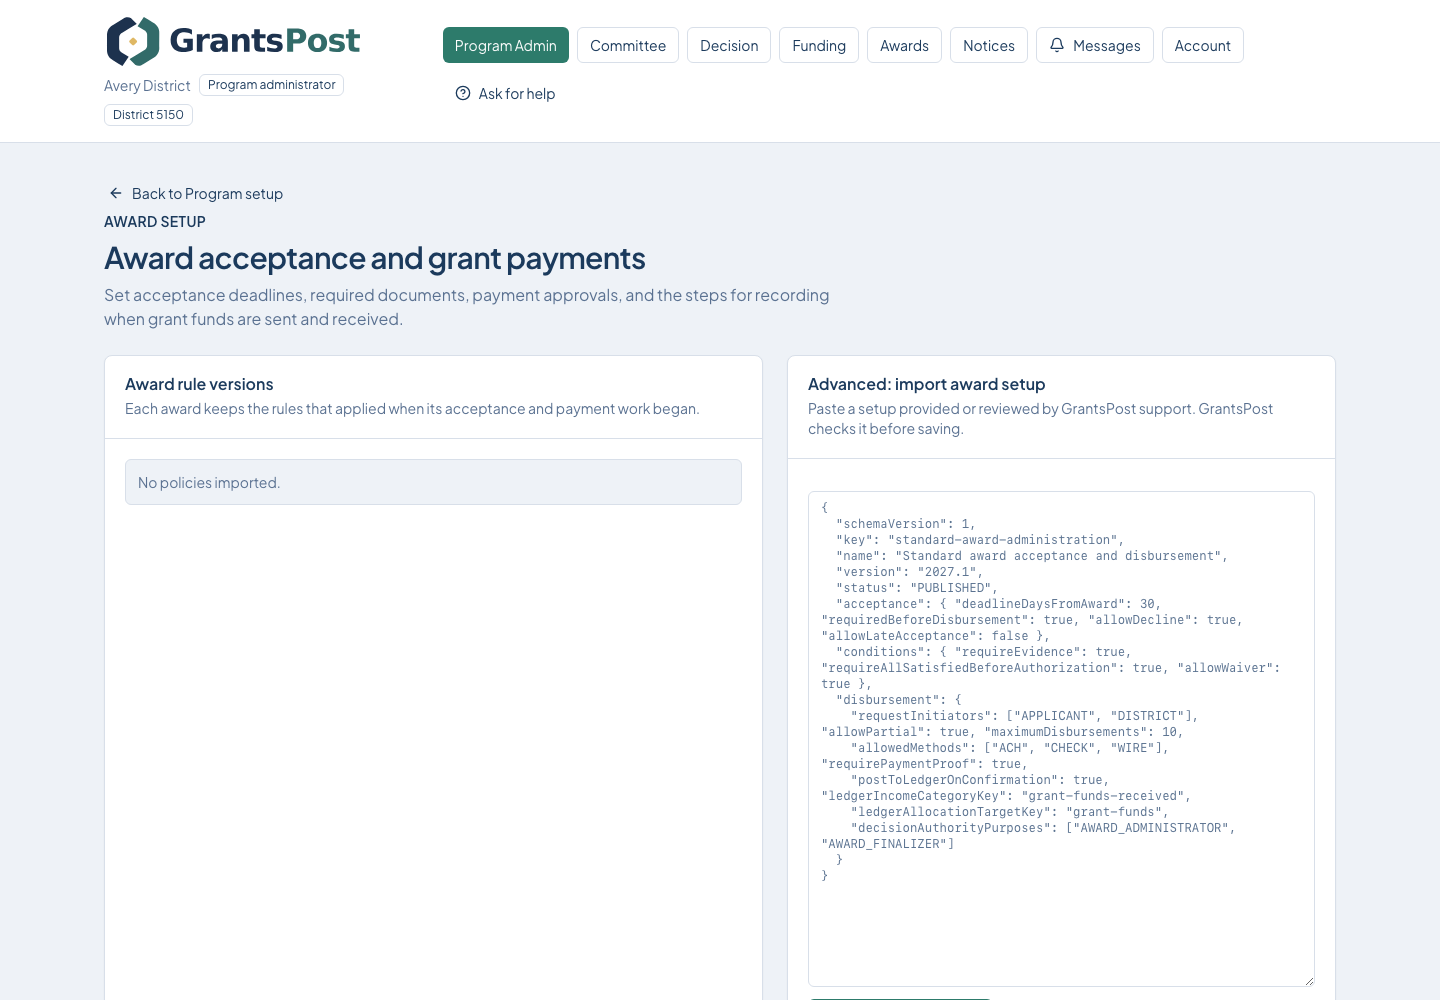
Where to beginFrom District Admin, open Award acceptance and grant payments.
  1. Open the award and check acceptance, requirements, and grant payment status.
  2. Use Record decision for submitted requirements and grant payment requests.
  3. After a transfer is sent, enter its date, reference, and payment proof, then select Record sent transfer.
GrantsPost screen for Manage award acceptance and grant payments

Select the screen to enlarge it. Example data is fictional.

You are finished when

Acceptance and the intended grant payment are complete with supporting documents.

What happens next

Return to your role's home page and follow the next action shown by GrantsPost.

If something is not working

Use Help or Ask for help. Include the page name and what you were trying to do. Never send your password.

15

Review financial controls

From District Admin, open Financial controls.
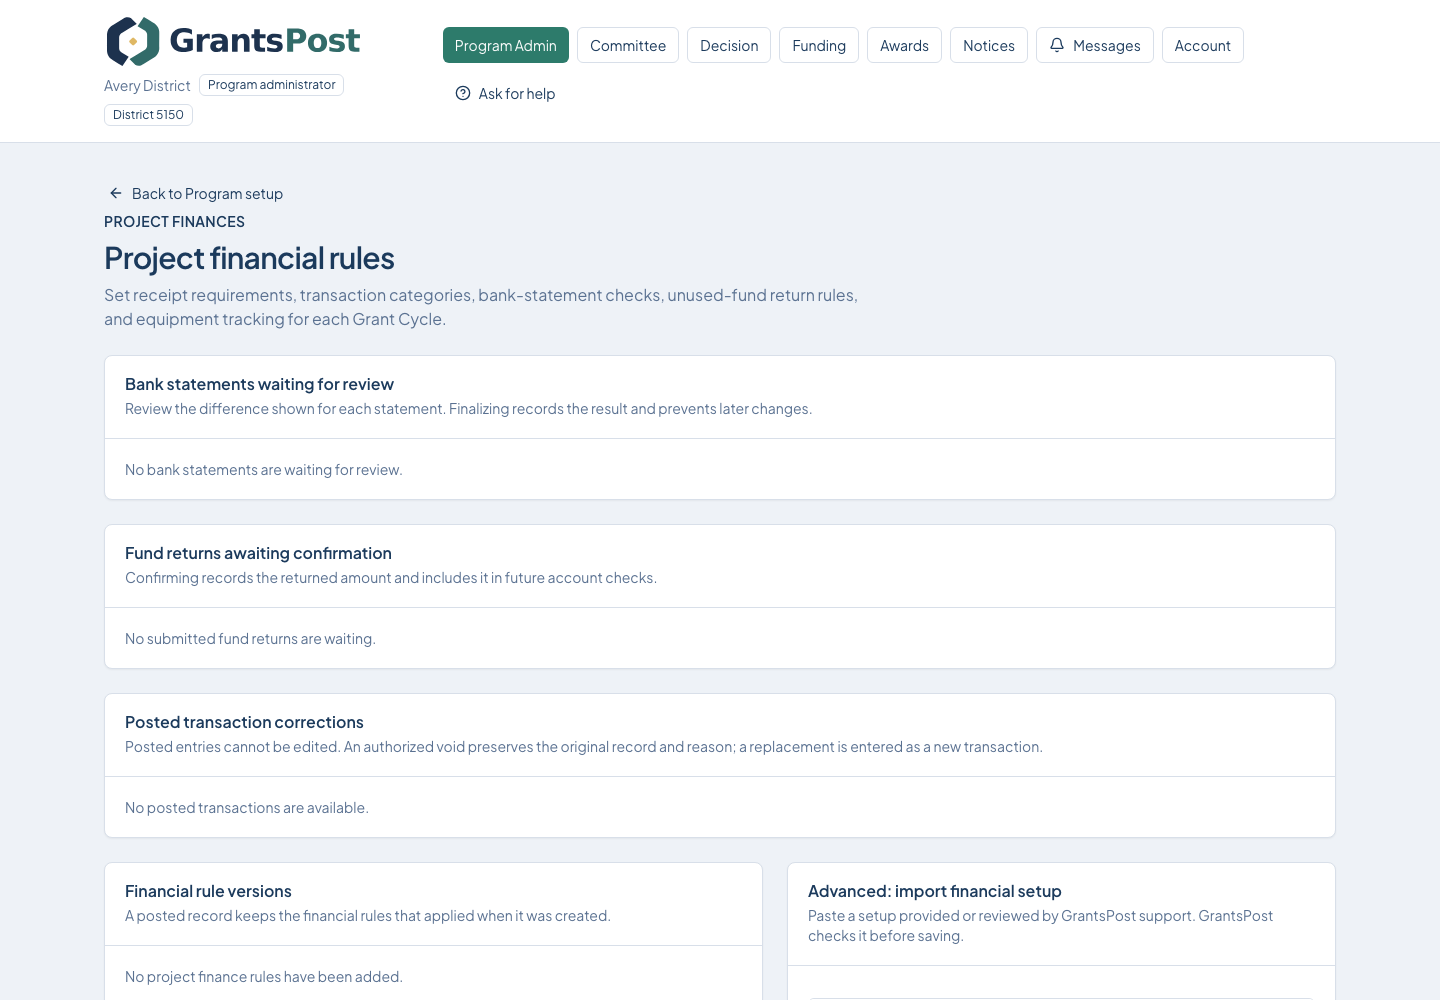
Where to beginFrom District Admin, open Financial controls.
  1. Open each item waiting for attention and compare it with its evidence.
  2. Use Confirm returned funds for a verified return. Use Void entry only with a clear reason when a posted entry is wrong.
  3. Confirm that no finance item still needs district action.
GrantsPost screen for Review financial controls

Select the screen to enlarge it. Example data is fictional.

You are finished when

No financial item that needs administrator attention remains.

What happens next

Return to your role's home page and follow the next action shown by GrantsPost.

If something is not working

Use Help or Ask for help. Include the page name and what you were trying to do. Never send your password.

16

Manage compliance

From District Admin, open Compliance and records.
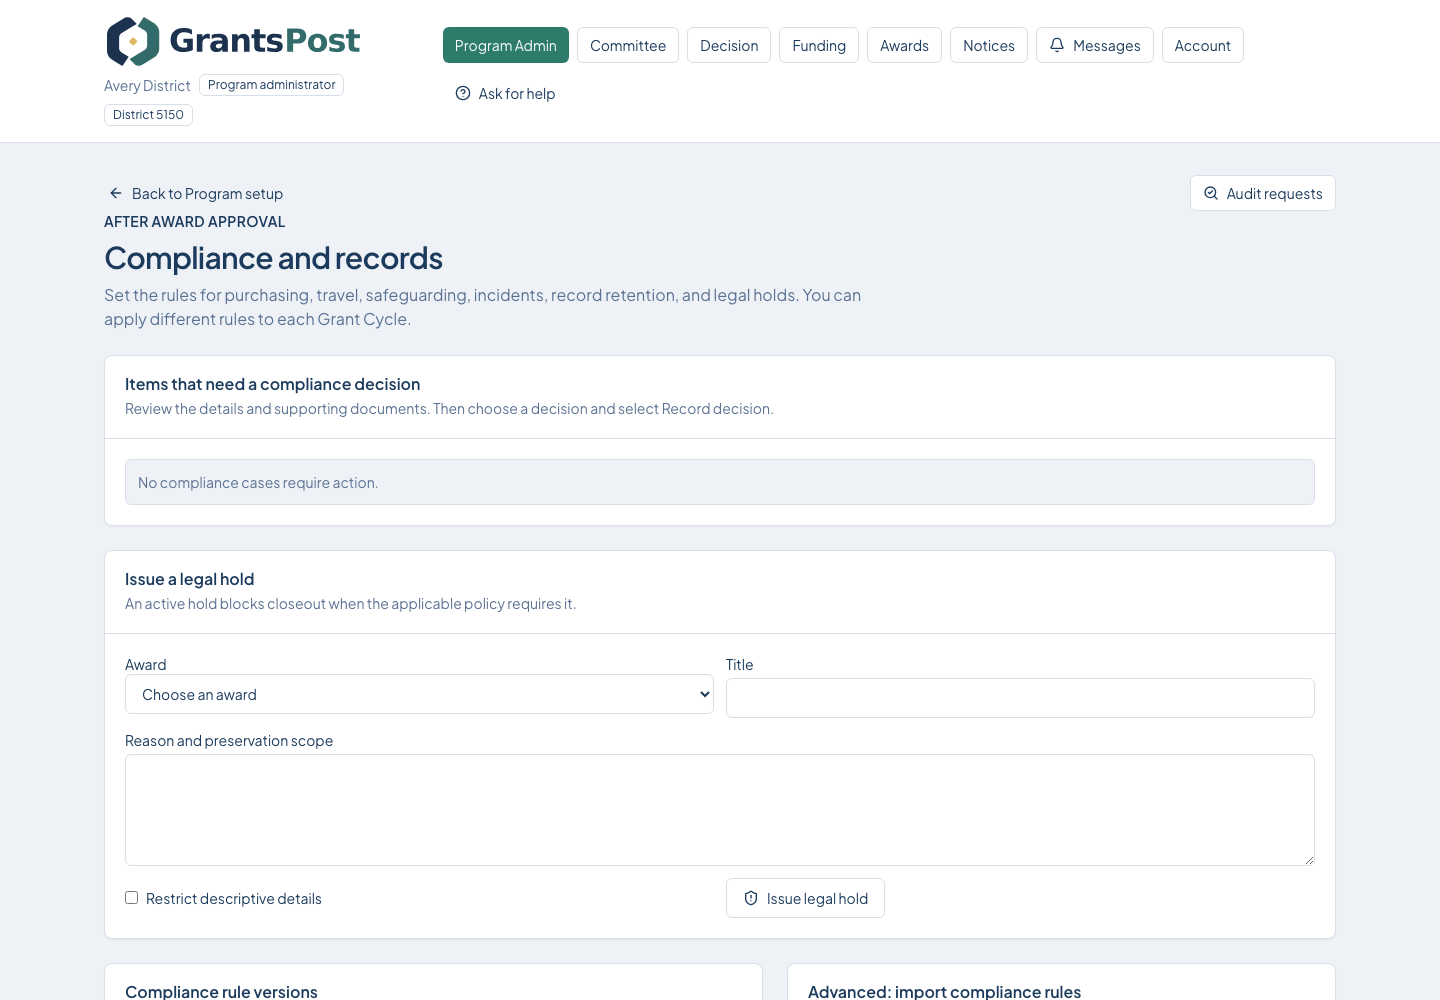
Where to beginFrom District Admin, open Compliance and records.
  1. Open each submitted compliance case and review the evidence.
  2. Choose the allowed outcome, enter a decision note, then select Record decision.
  3. Keep confidential matters within the people authorized to view them.
GrantsPost screen for Manage compliance

Select the screen to enlarge it. Example data is fictional.

You are finished when

Every submitted case has a documented decision or next action.

What happens next

Return to your role's home page and follow the next action shown by GrantsPost.

If something is not working

Use Help or Ask for help. Include the page name and what you were trying to do. Never send your password.

17

Issue and review audit requests

From District Admin, open Audit requests.
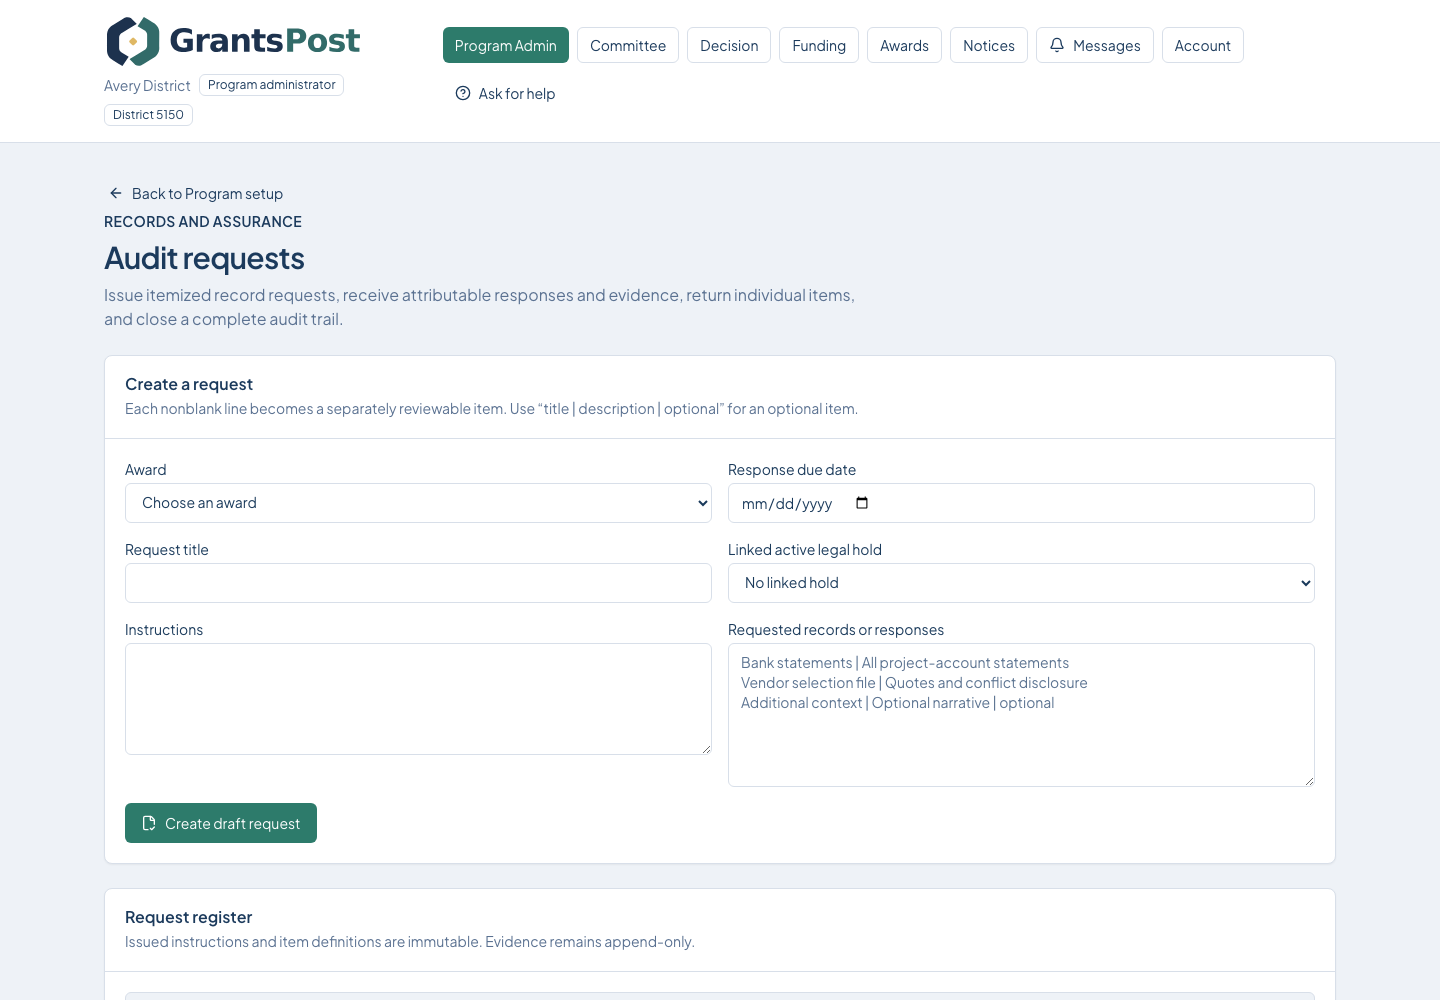
Where to beginFrom District Admin, open Audit requests.
  1. Create a request only when you can name the records needed, the due date, and the instructions.
  2. For each submitted item, choose Accept item, Return item, or Waive item; add a note and select Save item review.
  3. Close the audit only after every required item is resolved.
GrantsPost screen for Issue and review audit requests

Select the screen to enlarge it. Example data is fictional.

You are finished when

All required items are resolved and the audit request is closed.

What happens next

Return to your role's home page and follow the next action shown by GrantsPost.

If something is not working

Use Help or Ask for help. Include the page name and what you were trying to do. Never send your password.

18

Monitor communications

From District Admin, open Communications.
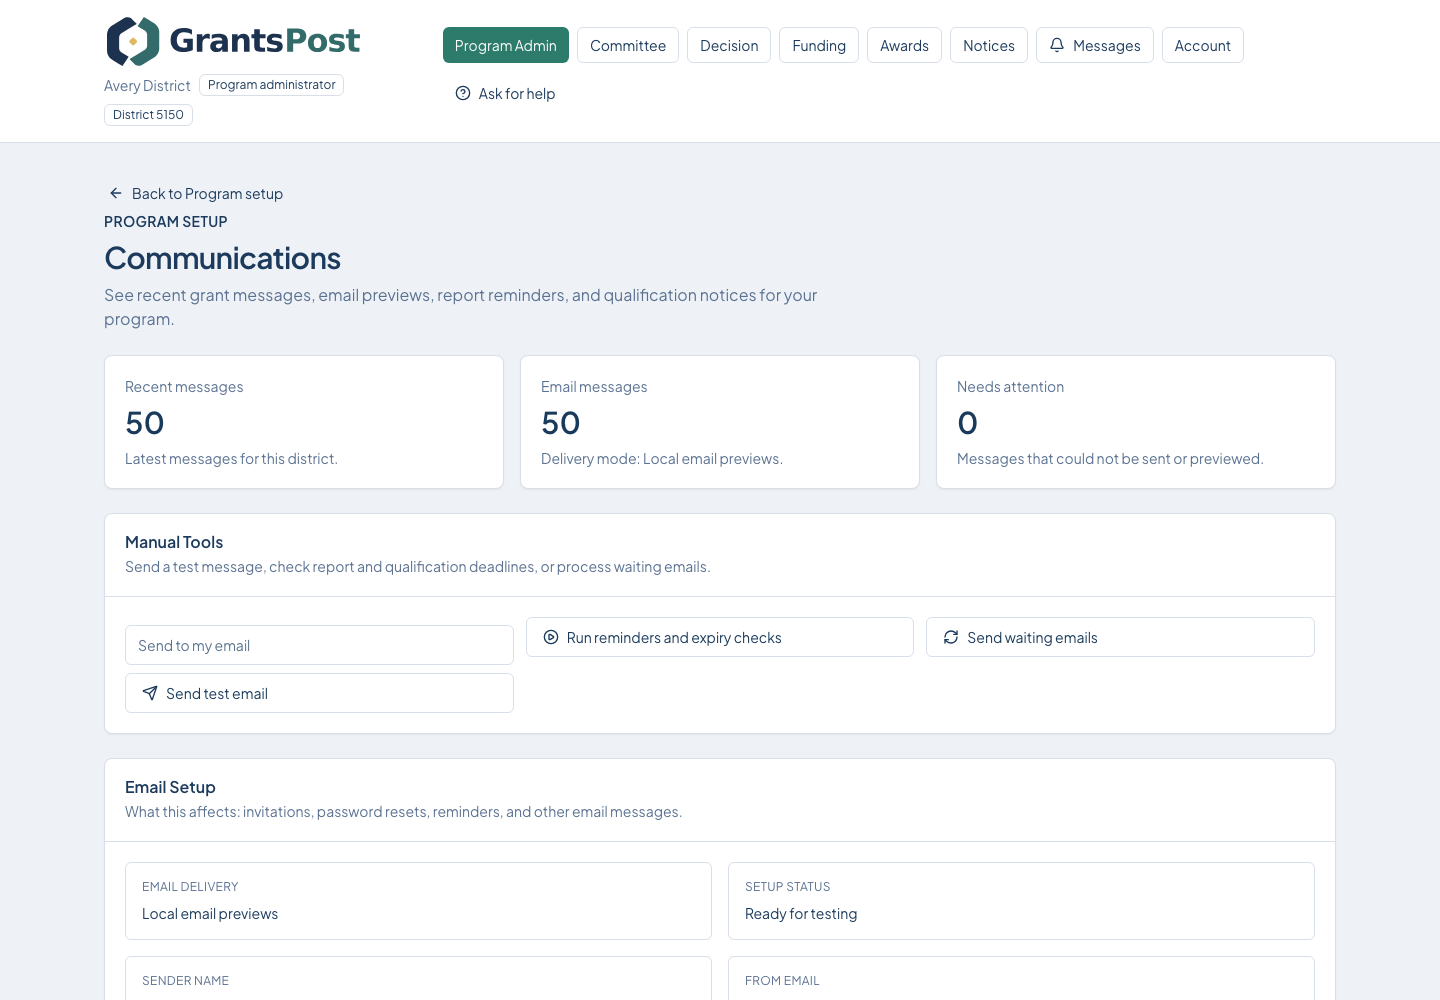
Where to beginFrom District Admin, open Communications.
  1. Open messages marked Needs attention.
  2. Check in-app delivery and email delivery separately.
  3. Use the retry action only for a failed email record. In-app delivery remains the official record.
GrantsPost screen for Monitor communications

Select the screen to enlarge it. Example data is fictional.

You are finished when

No important message is left in Needs attention.

What happens next

Return to your role's home page and follow the next action shown by GrantsPost.

If something is not working

Use Help or Ask for help. Include the page name and what you were trying to do. Never send your password.

19

Close the grant

From District Admin, open Grant Reports and find the accepted final report.
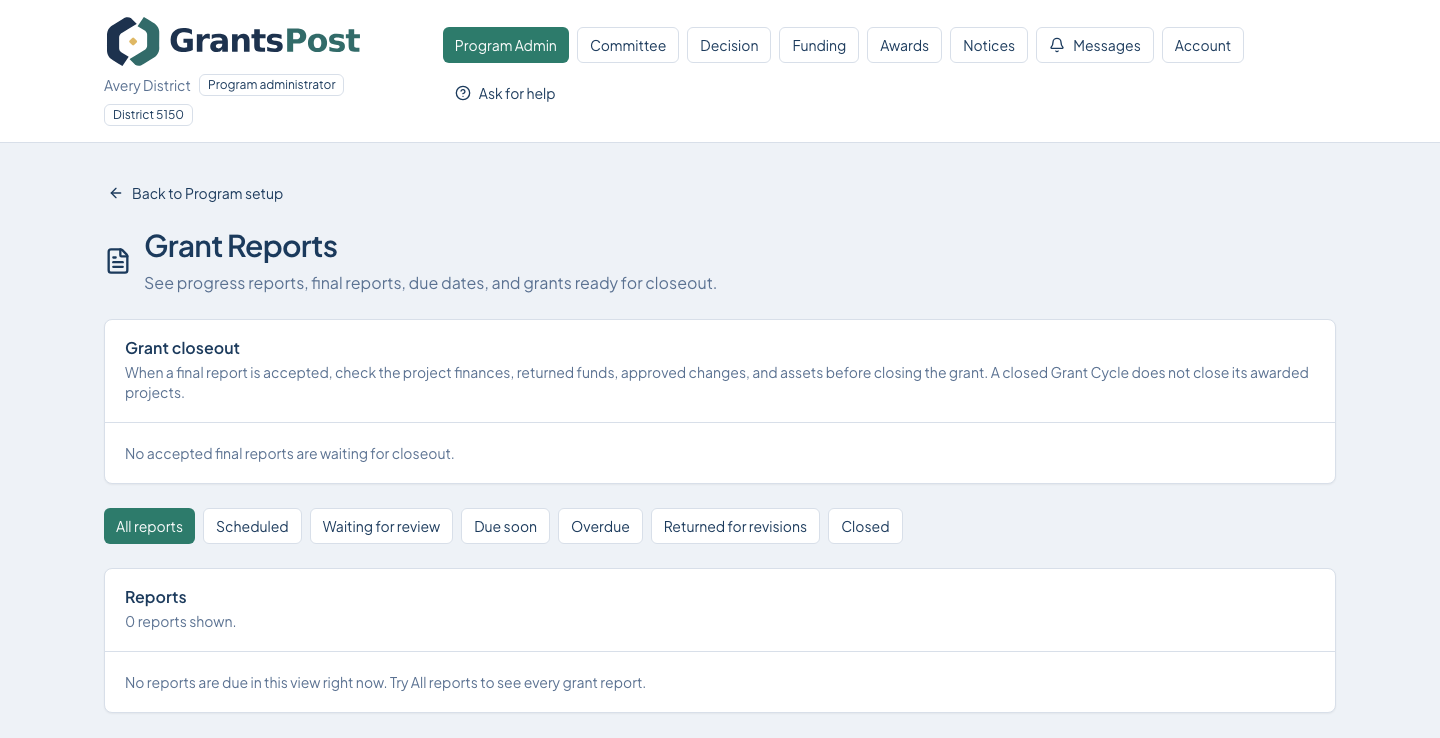
Where to beginFrom District Admin, open Grant Reports and find the accepted final report.
  1. Select Check closeout readiness.
  2. Resolve every item marked Needs attention, including reports, finances, returned funds, project changes, assets, compliance, and legal holds.
  3. When every item says Ready, select Close grant. Close the project only after its final report and checks are accepted; closing its Grant Cycle is not enough.
GrantsPost screen for Close the grant

Select the screen to enlarge it. Example data is fictional.

You are finished when

The grant status is Closed and the retention date is recorded.

What happens next

The grant remains available as history; no active closeout work remains.

If something is not working

Select the first Needs attention check, resolve it in its own page, then run Check closeout readiness again.

Screen example